Managing diabetes can be challenging, but with the right tools, it becomes much easier. The Dexcom Continuous Glucose Monitoring (CGM) system is a game-changer for many, offering real-time glucose readings without the need for constant finger pricks. However, like any wearable device, the Dexcom sensor requires regular replacement. In this guide, we’ll cover everything you need to know about sensor replacement, including tips, product recommendations, and FAQs.
What is a Dexcom Sensor?
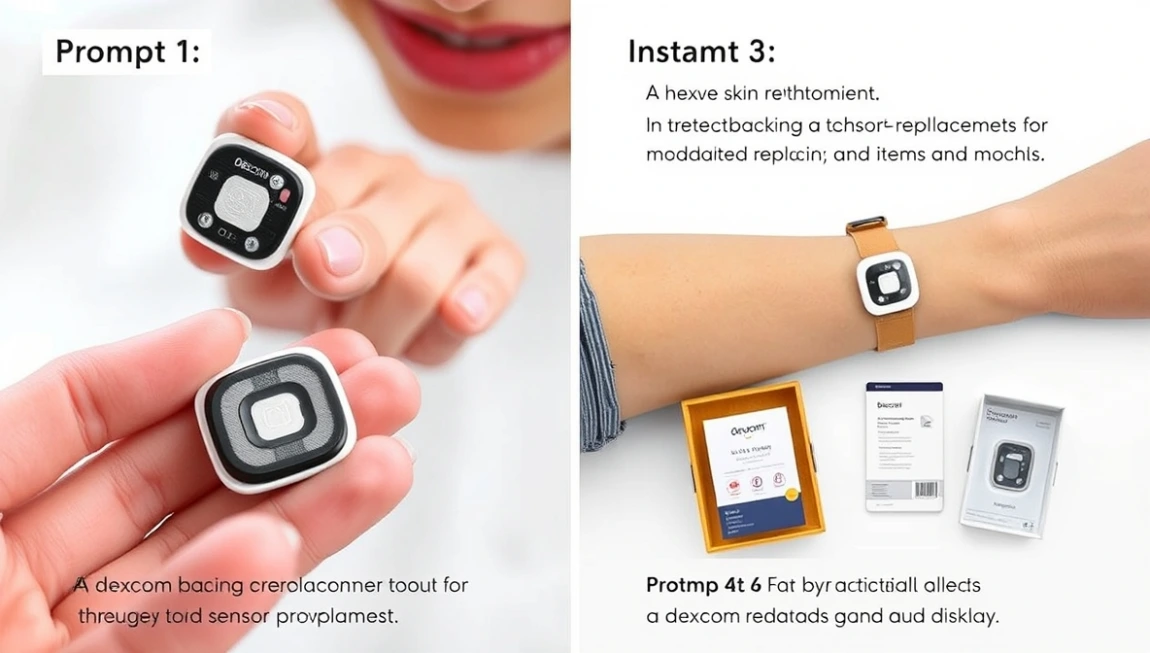
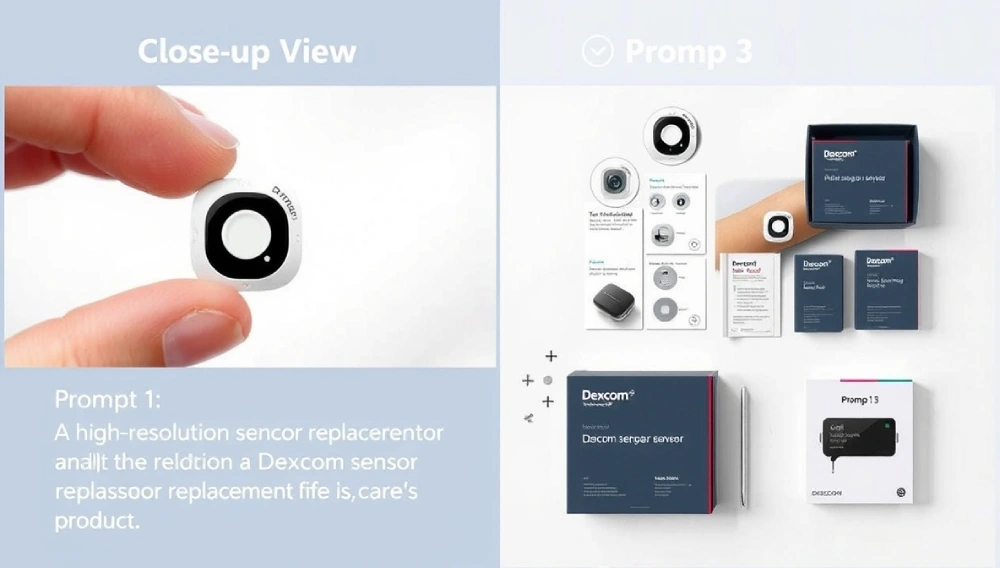
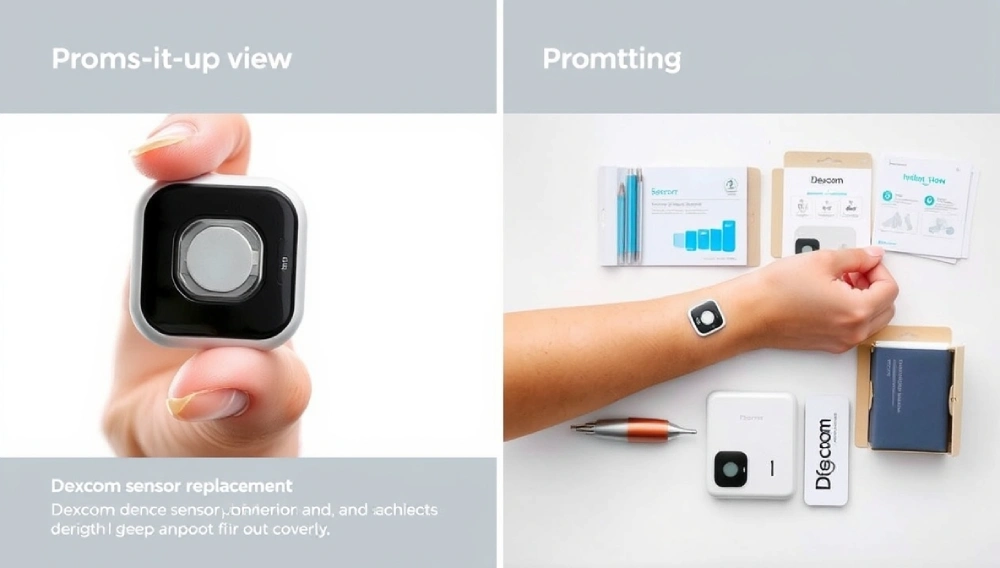
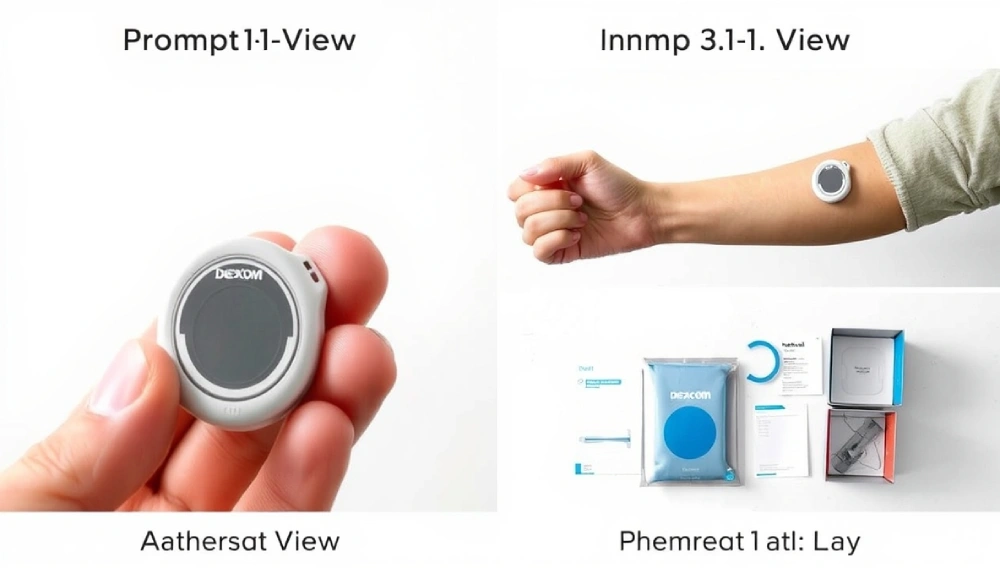
The Dexcom sensor is a small, wearable device that measures glucose levels in your interstitial fluid (the fluid between your cells). It works with a transmitter to send real-time glucose data to your smartphone or receiver. The sensor is typically worn on the abdomen or back of the arm and needs to be replaced every 10 days for optimal accuracy.
Why Replace Your Dexcom Sensor?
Replacing your Dexcom sensor is essential for maintaining accurate glucose readings. Over time, the sensor’s performance can degrade, leading to less reliable data. Here’s why timely replacement matters:
- Accuracy: A fresh sensor ensures precise glucose readings.
- Comfort: Worn-out sensors may cause skin irritation.
- Safety: Accurate data helps you make informed decisions about insulin and diet.
How Often Should You Replace Your Dexcom Sensor?
Dexcom recommends replacing the sensor every 10 days. However, some users extend the sensor’s life by restarting it, though this is not officially supported by Dexcom. Always prioritize accuracy and safety over extending usage.
Step-by-Step Guide to Replacing Your Dexcom Sensor

Replacing your Dexcom sensor is simple if you follow these steps:
1. Gather Your Supplies
- New Dexcom sensor
- Transmitter (if needed)
- Alcohol wipes
- Adhesive patches (optional)
- Smartphone or receiver
2. Remove the Old Sensor
- Gently peel off the adhesive.
- Remove the sensor and transmitter.
3. Prepare the New Sensor
- Clean the application site with an alcohol wipe.
- Let the area dry completely.
4. Apply the New Sensor
- Insert the sensor into the applicator.
- Press the applicator firmly against your skin to insert the sensor.
- Attach the transmitter to the sensor.
5. Start the Sensor
- Open the Dexcom app or receiver.
- Follow the on-screen instructions to start the new sensor.
6. Secure the Sensor (Optional)
- Use adhesive patches to keep the sensor in place, especially if you’re active or sweat a lot.
BMW 330i Sensors on Mirror – Dexcom sensor replacement options
Product Recommendations for Dexcom Replacement
Here are some products to make your Dexcom replacement process smoother:
1. Dexcom G6 Sensor
- Pros:
- No fingerstick calibrations are required.
- Water-resistant for up to 24 hours.
- Easy to apply and remove.
- Cons:
- Expensive without insurance.
- It must be replaced every 10 days.
2. Dexcom G7 Sensor (Latest Model)
- Pros:
- Smaller and more discreet.
- 30-minute warm-up time (faster than G6).
- Integrated transmitter.
- Cons:
- Limited availability in some regions.
- Higher cost compared to older models.
3. Adhesive Patches (e.g., Skin Grip or Lexcam)
- Pros:
- Extend the life of your sensor by keeping it secure.
- Hypoallergenic options were available.
- Cons:
- Additional cost.
- May require frequent replacement.
Buying Guide: How to Choose the Right Dexcom Sensor
When selecting a Dexcom sensor, consider the following factors:
- Compatibility: Ensure the sensor works with your transmitter and device (e.g., smartphone or receiver).
- Budget: Check your insurance coverage or look for discounts through Dexcom’s patient assistance programs.
- Lifestyle: If you’re active or swim often, opt for a water-resistant model like the G6 or G7.
- Ease of Use: Beginners may prefer the G7 for its simpler design and faster warm-up time.
Personal Experience
As someone who has used the Dexcom G6 for over a year, I can confidently say that the replacement process is straightforward. The first time was a bit nerve-wracking, but after a few tries, it became second nature. I highly recommend using adhesive patches, especially during workouts, as they prevent the sensor from peeling off. The G7’s shorter warm-up time is a game-changer for those who want quicker access to their glucose data.
Tips
- Rotate Application Sites: Avoid placing the sensor in the same spot repeatedly to prevent skin irritation.
- Stay Hydrated: Proper hydration can improve sensor accuracy.
- Keep Supplies Handy: Always have a spare sensor and adhesive patches in case of emergencies.
- Follow Instructions: Read the user manual or watch tutorial videos if you’re unsure about the process.
FAQs
1. Can I reuse a Dexcom sensor?
- No, Dexcom sensors are designed for single use. Reusing them can lead to inaccurate readings and skin irritation.
2. What should I do if my sensor fails early?
- Contact Dexcom support. They often replace faulty sensors free of charge.
3. Can I shower or swim with my Dexcom sensor?
- Yes, Dexcom sensors are water-resistant. However, avoid submerging them for extended periods.
4. How do I know when to replace my sensor?
- The Dexcom app will notify you when it’s time to replace the sensor.
5. Can I extend the life of my Dexcom sensor?
- While some users restart their sensors, this is not recommended by Dexcom and may affect accuracy.
Replacing your Dexcom sensor is a simple yet crucial part of managing your diabetes effectively. By following the steps outlined in this guide, you can ensure accurate glucose readings and a comfortable experience. Whether you’re a beginner or a seasoned user, investing in the right products and following best practices will make the process seamless.
