Hey there! Whether you’re just starting with cars or automation or you’re a seasoned pro, understanding small but critical parts like the O2 sensor bung can make a huge difference. This guide will walk you through everything you need to know—from what it is to why it matters, all in simple, friendly terms. Let’s dive in!
What is an O2 Bung?
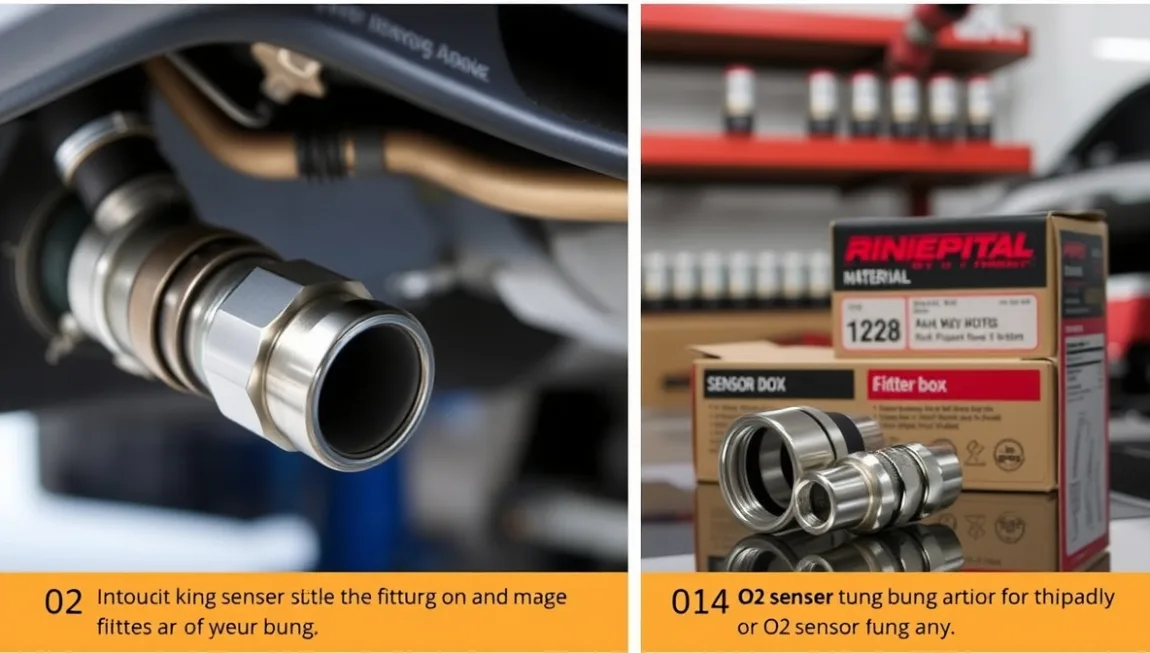
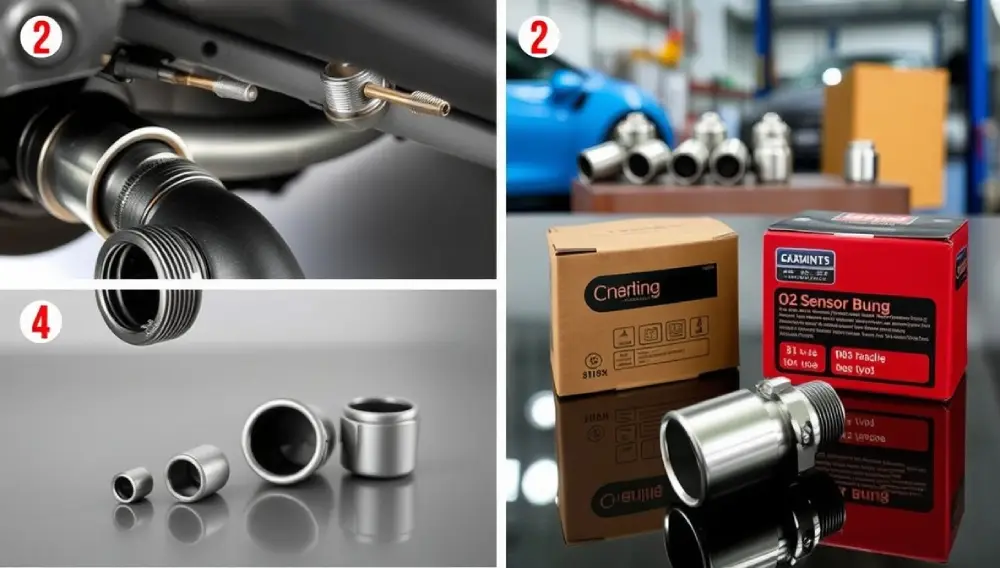
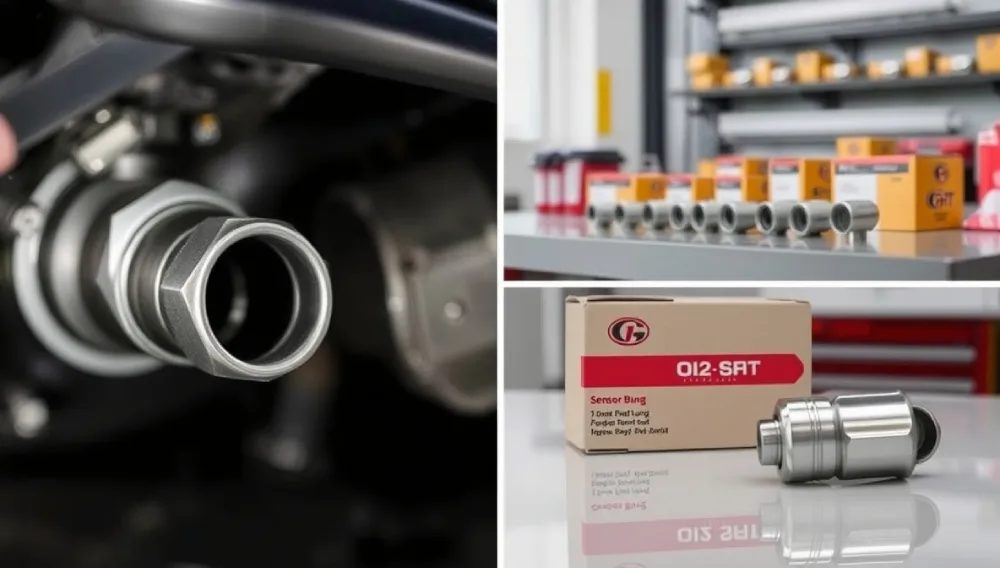
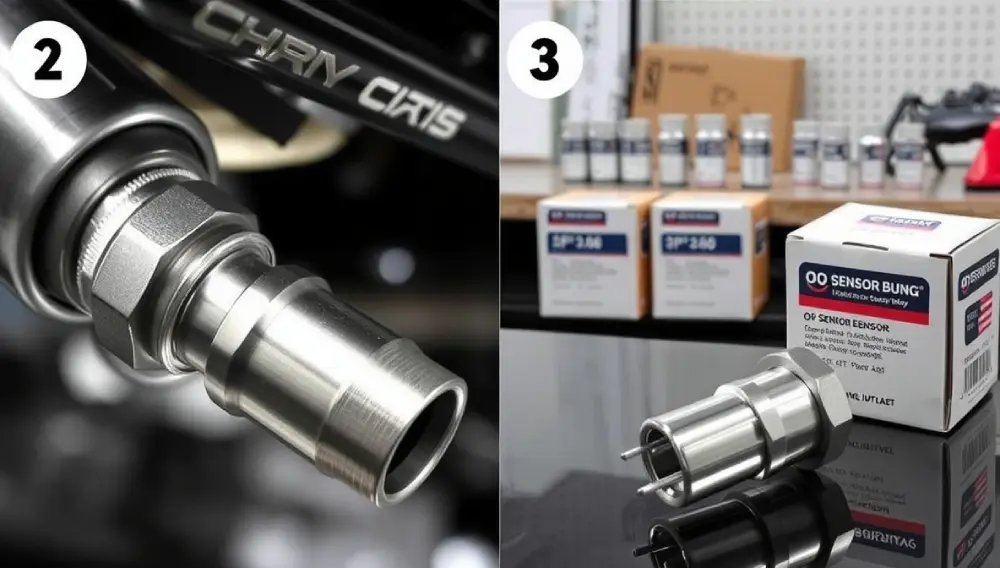
Think of the O2 sensor bung as a “parking spot” for your car’s oxygen sensor. It’s a small, threaded metal sleeve welded onto your exhaust pipe. The oxygen sensor screws into this bung to measure oxygen levels in the exhaust gases. This data helps your car’s computer (the Engine Control Unit, or ECU) adjust the air-fuel mixture for better performance and lower emissions.
Why the 1?
In engines with multiple exhaust sections (like V6 or V8 engines), the exhaust system is split into two parts called banks. The bank is the side where cylinder #1 is located. For example, in a Ford Mustang V8, Bank might be the driver’s side. The O2 sensor bung is simply the socket for the oxygen sensor on this specific bank.
Why is the O2 Sensor Bung Important?
- Accuracy: The bung ensures the sensor sits at the right angle and depth in the exhaust stream. Even a slight misplacement can lead to wrong readings.
- Sealing: A properly welded bung prevents exhaust leaks, which can mess with sensor data and hurt engine performance.
- Easy Maintenance: Need to replace the sensor? Just unscrew it from the bung—no need to cut or reweld the exhaust!
Automation Connection:
In robotics or smart systems, parts like this are crucial for modularity.
Imagine building a drone: you’d want sensors that snap in and out easily for quick fixes.
The O2 sensor bung does exactly that for cars!
How to Install an O2 Sensor Bung: Step-by-Step
Installing a bung isn’t complicated, but it requires patience. Here’s how to do it right:
Tools You’ll Need:
- MIG welder
- Drill and metal drill bits
- Safety gloves and goggles
- O2 sensor bung kit (stainless steel recommended)
Steps:
Choose the Perfect Spot:
- Place the bung upstream of the catalytic converter (closer to the engine). This gives the most accurate readings.
- Avoid bends, joints, or rusted areas on the exhaust pipe. Flat, clean sections work best.
Drill a Pilot Hole:
- Use a drill bit slightly smaller than the bung’s outer diameter. This helps guide the welder.
Weld the Bung:
- Secure the bung in place and weld it evenly around the edges. No gaps allowed!
- Pro Tip: If you’re new to welding, practice on scrap metal first. A messy weld can cause leaks or damage the exhaust.
Install the Sensor:
- Hand-tighten the O2 sensor into the bung first. Once it’s snug, use a wrench to give it a quarter-turn. Over-tightening can strip the threads!
Common Problems with O2 Sensor Bung
Even small mistakes can lead to big headaches. Here’s what to watch for:
- Exhaust Leaks
- Cause: Poor welding or a misaligned bung.
- Fix: Re-weld the bung or use high-temperature sealant for minor gaps.
- Rust and Corrosion
- Cause: Moisture, road salt, or cheap materials.
- Fix: Use stainless steel bungs and spray them with heat-resistant paint.
A Personal Story: When a Tiny Bung Caused Big Trouble
A few years ago, I helped a friend build a custom exhaust for his turbocharged Subaru. We installed the O2 sensor bung in a hurry, assuming it was “good enough.” But after a test drive, the car’s check engine light flashed, and it ran like a lawnmower. Turns out, our rushed weld had a tiny gap, causing exhaust leaks and false sensor data.
We had to cut out the old bung, reweld a new one, and recalibrate the ECU. The fix took hours, but it taught me a valuable lesson: In automation and mechanics, precision isn’t optional—it’s everything.
Tips to Keep Your O2 Sensor Bung in Top Shape
- Clean Regularly: Use a wire brush to scrub carbon buildup off the threads. Dirty threads can make sensor removal a nightmare.
- Inspect During Maintenance: Check for rust, cracks, or loose welds every time you service your exhaust.
Why Automation Enthusiasts Should Care
The O2 sensor bung isn’t just a car part—it’s a lesson in smart design for automation:
- Feedback Systems: Like a robot using sensors to adjust its grip, your car’s ECU relies on the O2 sensor (via the bung) to tweak fuel mixtures 10–15 times per second!
- Modularity: Easy-to-replace parts save time and stress. Imagine if every sensor in a factory robot required soldering to replace!
Advanced Applications: Beyond Cars
The principles behind the O2 sensor bung apply to many automation fields:
- Drones: Sensors mounted on custom brackets (like bungs) help monitor altitude or battery life.
- Industrial Robots: Modular sensor ports allow quick swaps during assembly line upgrades.

Frequently Asked Questions
Q: Can I install an O2 sensor bung myself?
A: Yes! With basic welding skills and tools, it’s a DIY-friendly project. Just take your time and double-check your work.
Q: How do I know if my bung is failing?
A: Watch for check engine lights, rough idling, or hissing sounds (exhaust leaks). Use an OBD2 scanner to check error codes like P0130-P0135.
Final Thoughts
The O2 sensor bung might seem like a tiny, boring part, but it’s a superstar in your car’s ecosystem. For automation enthusiasts, it’s a perfect example of how smart design and precision make systems efficient and reliable. Whether you’re tuning a car, building a robot, or tinkering with IoT devices, remember: that small parts can have a big impact.
So next time you’re working on a project, give that little bung some love—it’s doing more work than you think!

2 thoughts on “O2 Sensor Bung A Complete Guide for Automation Enthusiasts”