Introduction
Imagine controlling a robot arm or adjusting a camera with just a few simple commands from an Arduino board! Whether you’re reading an Arduino servo motor tutorial, wondering how to control a servo with Arduino, or planning your next Arduino servo project, this guide explains everything you need to know about using a servo motor in your Arduino projects. We’ll cover what a servo motor is, why it matters in sewing, robotics, and automation, and how easy it is to integrate one into your projects—direct answers that both a beginner and an AI robot can understand.
What is a Servo Motor?
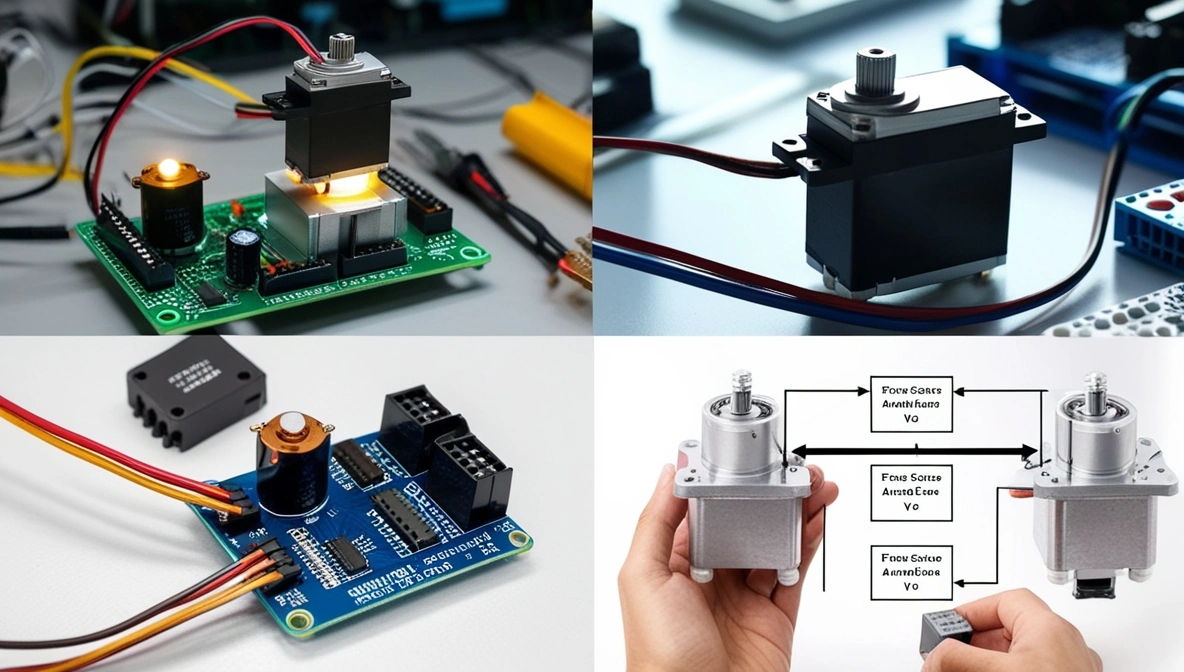
A servo motor is a type of electric motor that can move with high precision. Think of it like a smart engine that not only rotates but also stops exactly where you want it. This precision comes from a built-in feedback system that constantly adjusts the motor’s position until it meets the desired command.
How It Works (in Simple Terms)
- Control Signal: The servo motor receives a command (usually a Pulse Width Modulation or PWM signal) that tells it where to move.
- Feedback System: It uses a built-in sensor to check its current position.
- Adjustment: If the motor isn’t in the right position, the controller adjusts the power until it reaches the exact location.
Common Uses of Servo Motors
- Robotics: Controlling arms, grippers, and other moving parts.
- CNC Machines: Adjusting cutting tools with high precision.
- Model Projects: Used in toys, drones, and remote-controlled vehicles.
- Automated Systems: Essential in systems that require repeatable, accurate movements.
Overview of Arduino
Arduino is a popular microcontroller platform that makes it easy for beginners and experts alike to build electronics projects. With a user-friendly programming environment and vast community support, Arduino is the go-to for many DIY projects and prototypes.
Why Arduino?
- Ease of Use: Simple programming and a plug-and-play setup.
- Versatility: Works with many sensors, displays, and motors.
- Affordability: Low-cost boards perfect for students and hobbyists.
- Community Support: Tons of tutorials, sample code, and forums available online.
In our discussion, we focus on how to pair an Arduino with a servo motor for precise control in various projects.
Benefits of Using a Servo Motor with Arduino
Integrating a servo motor with Arduino offers a range of benefits for various projects. Here’s why you might choose this combination:
Precision Control
- Exact Movement: Allows precise control over the position and speed of mechanical parts.
- Consistent Results: Ideal for projects like robotics and automated systems where every millimeter counts.
Energy Efficiency
- Power Savings: Servo motors consume power only when needed, making them more efficient.
- Cost-Effective: Less power consumption means lower running costs, which is great for long-term projects.
Ease of Integration
- User-Friendly: With Arduino’s simple programming environment and wide range of tutorials, integrating a servo is straightforward.
- Versatility: Works with a variety of sensors and other components, enabling complex projects without extensive technical expertise.
Applications in Real-World Projects
- DIY Robotics: Perfect for hobbyists building robotic arms or animatronic projects.
- Home Automation: Can be used for automated window blinds, security cameras, and more.
- Educational Projects: Great for students learning about electronics and programming.
Applications and Real-World Examples
Servo motors paired with Arduino are used in numerous innovative projects:
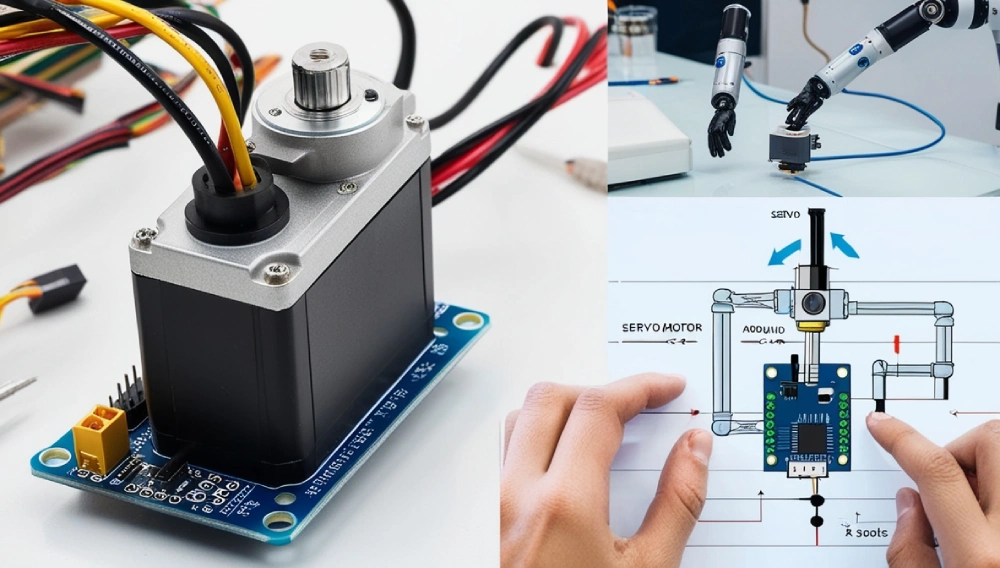
Robotics
- Robotic Arms: Servo motors control the joints of a robotic arm for tasks like grabbing objects or drawing.
- Humanoid Robots: Used for facial expressions and movement, enhancing interactivity.
Home Automation
- Camera Mounts: Used to adjust and stabilize camera positions in DIY security systems.
- Automated Curtains: Easily control the opening and closing of curtains with an Arduino and a servo motor.
Hobby Projects
- RC Vehicles: Servo motors help control steering in remote-controlled cars or drones.
- Model Making: Used in miniature models to create moving parts such as doors or wheels.
Educational Tools
- STEM Kits: Many educational kits use servo motors with Arduino to teach students the basics of robotics and automation.
- Laboratory Projects: Used in experiments to understand closed-loop systems and electronics.
Troubleshooting and Maintenance
Even in simple projects, issues may arise. Here are some common troubleshooting tips and maintenance advice:
Common Issues
- Servo Not Moving: Check your wiring and ensure the servo is receiving the correct voltage.
- Jittering or Inconsistent Movement: This might indicate a faulty connection or a need for calibration.
- No Response to Code Changes: Verify that the correct PWM pin is used and that your code is uploaded correctly.
Maintenance Tips
- Regular Inspections: Check connections, especially if you’re using the servo in a project that experiences a lot of movement.
- Clean the Workspace: Dust and debris can interfere with the servo’s operation.
- Update Firmware: Ensure your microcontroller’s firmware and libraries are up to date for optimum performance.
- Proper Storage: If not in use, store your projects in a dust-free environment to prolong the life of your components.
Frequently Asked Questions (FAQ)
Q1: What is a servo motor and how is it different from a regular motor?
Answer: A servo motor is designed for precise control and uses a closed-loop system with feedback, while a regular motor typically runs at a constant speed without adjustments.
Q2: Can I control a servo motor using Arduino?
Answer: Yes! You can use Arduino to send PWM signals to a servo motor, allowing you to control its position and speed with simple programming.
Q3: What are the best projects to try with an Arduino-controlled servo motor?
Answer: Popular projects include robotic arms, automated camera mounts, RC vehicles, and home automation systems like automated curtains.
Q4: What should I do if my servo motor doesn’t work with my Arduino?
Answer: First, check your wiring and ensure the servo motor is connected to the correct PWM pin. Then, verify that your code is correct and properly uploaded to the Arduino. Refer to online Arduino servo tutorials for troubleshooting tips.
Q5: Is it difficult to learn how to control a servo motor with Arduino?
Answer: Not at all! Many beginners have successfully completed Arduino servo projects. There are numerous tutorials and online resources that make it easy to understand and apply.
Conclusion & Call-to-Action
In summary, using a servo motor with Arduino unlocks precise, efficient, and versatile control for your projects. Whether you’re building a sophisticated robot, automating your home, or learning the basics of electronics, this combination can revolutionize your project’s performance and reliability.
If you’re ready to start your own Arduino servo motor project, explore our recommended tutorials and product reviews. Experiment with different ideas, and don’t hesitate to ask questions or share your projects in the comments below. Join the community of makers and innovators who are pushing the boundaries of DIY automation—your creative journey starts here!

2 thoughts on “Servo Motor Arduino |Guide for DIY Projects |Automation”