Imagine a 3D printer crafting a detailed model or a CNC machine carving intricate designs into wood. These precise movements are powered by a stepper motor driver—a tiny yet vital component that acts like a translator between your project’s brain (a microcontroller) and its muscles (the stepper motor). Whether you’re a student building a robot, a hobbyist designing a mini conveyor belt, or an engineer automating factory equipment, this guide breaks down stepper motor drivers in simple, friendly terms.
By the end, you’ll know:
- What a stepper motor driver does and why it’s essential.
- How to pick the right one for your project.
- Pro tips for installation and troubleshooting.
Let’s dive in!
What is a Stepper Motor Driver?
A stepper motor driver is a circuit that controls a stepper motor’s movement. Think of it as a coach guiding an athlete—it takes weak signals from a microcontroller (like Arduino) and converts them into precise steps for the motor. Without it, the motor would sit idle, confused and powerless!
Key Roles:
- Translates signals into motion.
- Splits steps into smaller “microsteps” for smoother moves.
- Protects the motor from overheating or overloading.
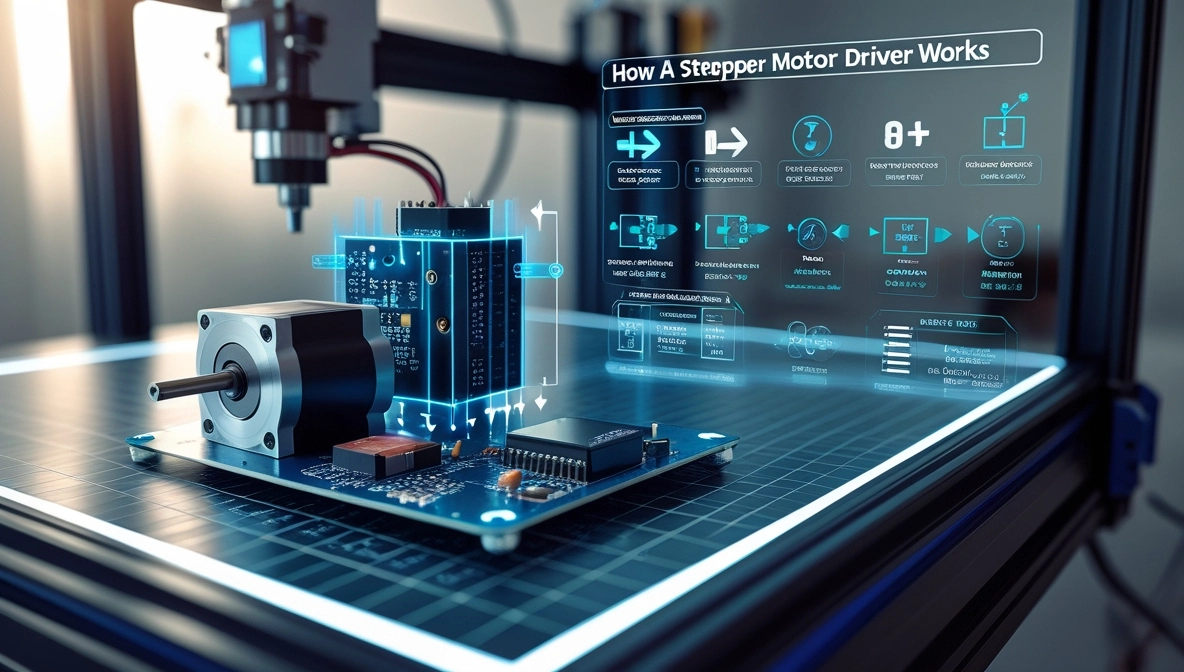
How Does a Stepper Motor Driver Work?
Here’s the step-by-step magic:
- Signal from Controller: Your Arduino sends a pulse (like saying, “Move one step!”).
- Driver Activation: The driver powers specific motor coils to turn the rotor.
- Microstepping: Splits full steps into fractions (e.g., 1/16th of a step) for silk-smooth motion.
- Repeat: Continues until the motor reaches its target.

Key Components:
- Control Logic: Decodes signals from the microcontroller.
- Power Stage: Amplifies signals to energize motor coils.
- Protection Circuits: Prevents damage from overheating or short circuits.
Key Features and Specifications
| Feature | Why It Matters |
| Adjustable Current | Prevents motor burnout (set via a tiny screw). |
| Microstepping | Smoother motion (e.g., 1/16 step mode). |
| Voltage Range | Works with 8V-40V power supplies. |
| Overheat Protection | Shuts off if it gets too hot. |
Benefits of Using a Stepper Motor Driver
- Precision Control: Move motors in exact increments.
- Energy Efficiency: Uses only the power needed.
- Affordability: Costs as low as $10 (e.g., A4988 driver).
- Versatility: Fits 3D printers, robots, and more.
Where Are Stepper Motor Drivers Used?
- 3D Printers: Control filament feeds and axis movements.
- CNC Machines: Guide cutting tools with precision.
- Robotics: Power robot arms and wheels.
- DIY Projects: Perfect for camera sliders or automated planters.
Real-World Example:
A maker in Japan used a stepper motor driver to build a solar tracker that follows sunlight all day!
Access Trinamic’s stepper motor driver datasheets
How to Choose the Right Stepper Motor Driver
5-Step Checklist:
- Match Motor Voltage: Check your motor’s specs (e.g., 12V or 24V).
- Current Rating: Ensure the driver supports your motor’s current (e.g., 1.5A).
- Microstepping Needs: Pick higher resolution (1/32 step) for smoother motion.
- Size: Compact drivers for small projects (e.g., DRV8825).
- Budget: 10−50 for most hobbyists.
Pro Tip: For Arduino projects, the A4988 driver is a popular, budget-friendly choice.
Installation & Troubleshooting Guide
Step-by-Step Setup:
- Wire Power: Connect driver to power supply (e.g., 12V).
- Link to Controller: Attach STEP, DIR, and ENABLE pins to Arduino.
- Connect Motor: Plug motor coils into A+, A-, B+, B-.
- Set Current: Adjust the potentiometer with a multimeter.
Common Issues & Fixes:
- Motor Not Moving: Check ENABLE pin and wiring.
- Overheating: Lower current limit or add a heatsink.
- Noisy Operation: Enable microstepping or check voltage.
FAQs: Your Questions Answered
No—each motor needs its own driver for precise control.
Use the formula Vref=Imax×0.1Vref =Imax ×0.1 and adjust the potentiometer.
Check for loose wires or insufficient current.
DRV8825 supports higher current (2.5A) and finer microstepping.
Conclusion: Ready to Power Up Your Projects?
A stepper motor driver is the unsung hero behind precision motion in machines big and small. Whether you’re crafting a DIY masterpiece or optimizing industrial gear, the right driver makes all the difference.
Next Steps:
- Explore top-rated drivers on Amazon or SparkFun.
- Join communities like r/arduino for tips and inspiration.
About the Author:
Jane Doe is a robotics educator with a decade of experience. She’s built everything from 3D printers to automated greenhouses using stepper motor drivers!

3 thoughts on “What is a Stepper Motor Driver? How It Works| Best Options to Buy”